Views: 365 Author: Site Editor Publish Time: 2021-04-30 Origin: Site
Many people will choose synthetic laminate as the floor. After you buy the laminate wood flooring, how to install it? This article tells you the steps to install the laminate, so that you don't have to panic when installing it.
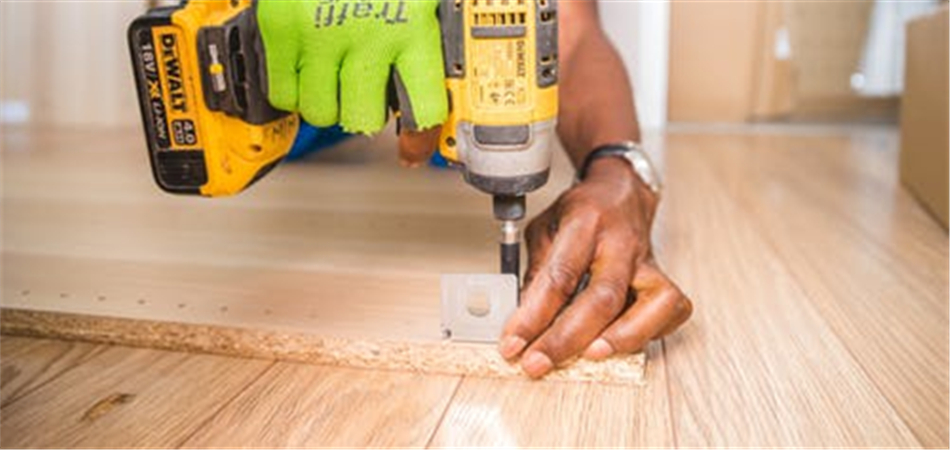
Installing this kind of floor requires a lot of tools and materials, most of which can be purchased in hardware stores, mainly including the following things: underlayment, barrier sheeting, laminate Glue, polyethylene tape, tapping block. You also need some goggles, tape measure, drill or saw, etc. If you have no experience in using a saw, don't use it alone, you can ask for help from many professionals.
Generally speaking, the pressure floor is sold in square feet, so you need to determine the size of the waterproof laminate flooring area before buying. First, you should measure the length of the perpendicular walls of each room where the material will be used by using a standard tape measure, which will be the most accurate method. Then multiple those two numbers together to get the total square footage of the room. Repeat this process for every room, hallway, and area where you would like to install the best laminate flooring and then add all of them together.
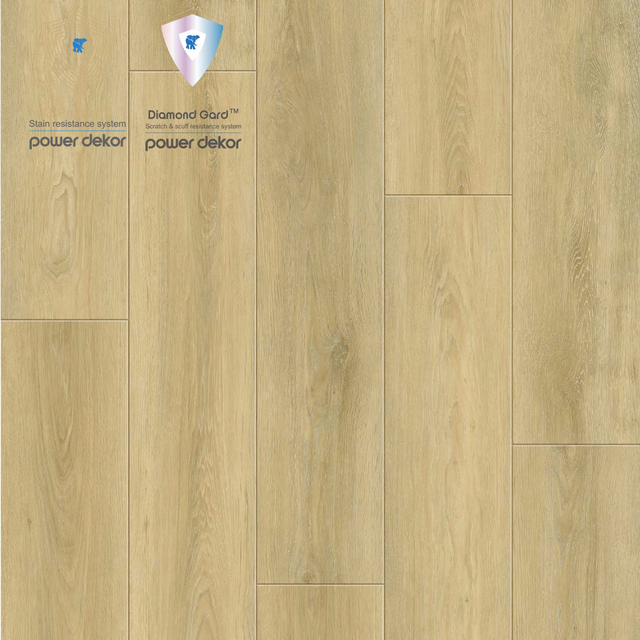
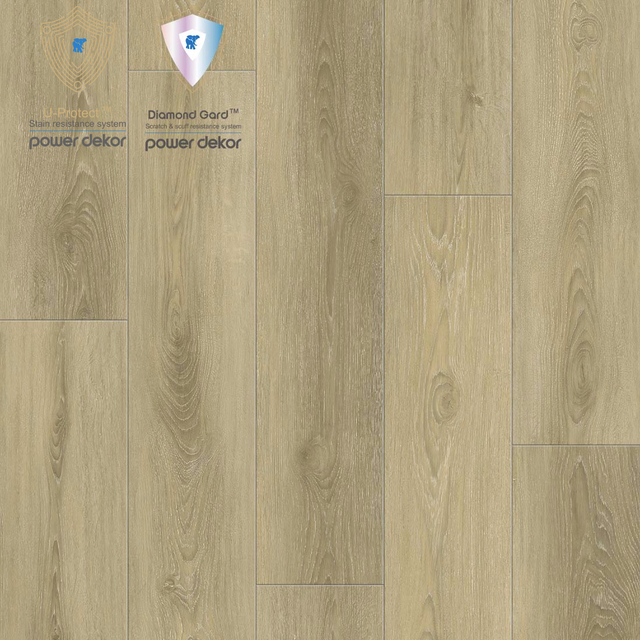
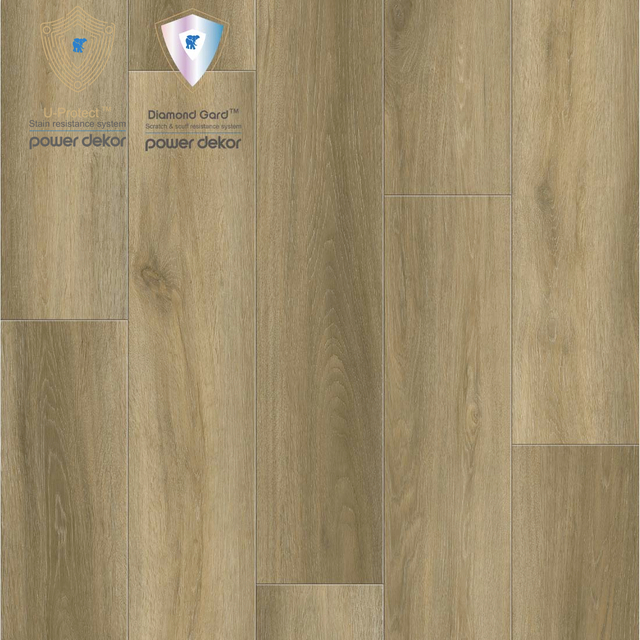
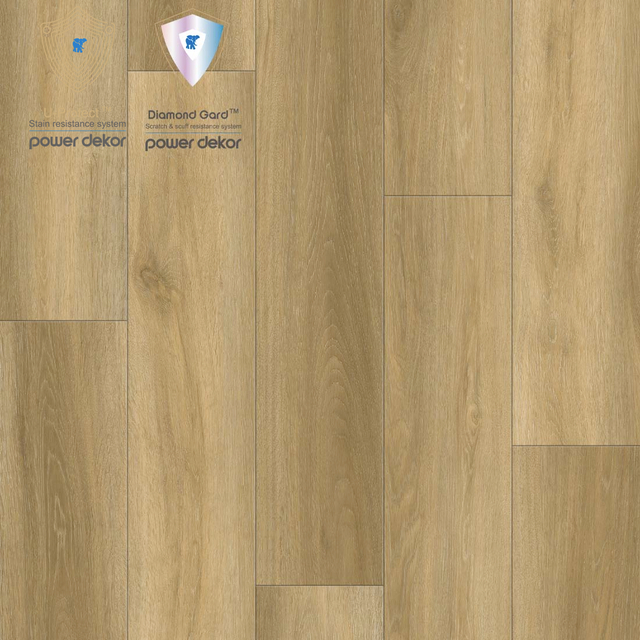
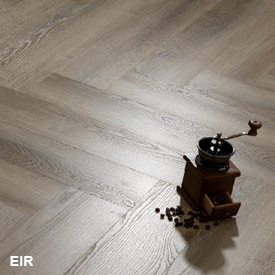
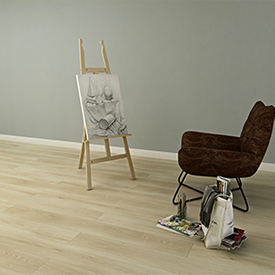
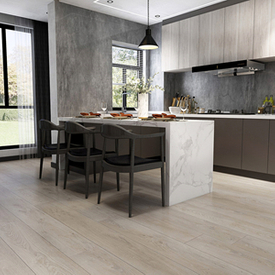
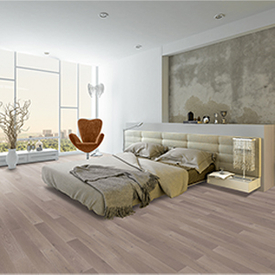
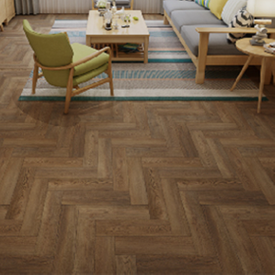
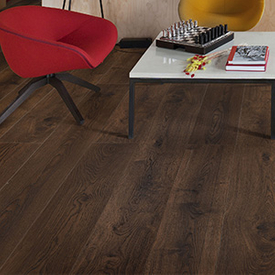
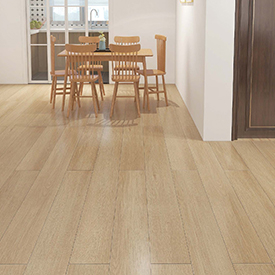
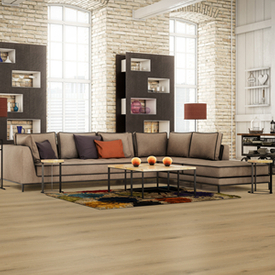
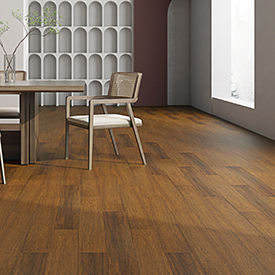
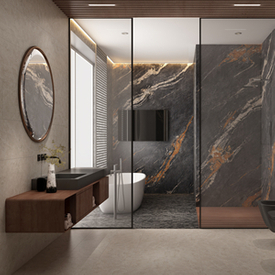
There are many different types of laminated timber on the market for you to choose from. At present, the most popular ones include pine, maple, cherry and oak. The finishes include glossy, embossed or high gloss. According to different weights, there are different installation methods for installing laminate flooring. Many common timber need to use industrial-grade adhesives and wood glue to keep the position of timber. You can ask professionals to determine which products you need.
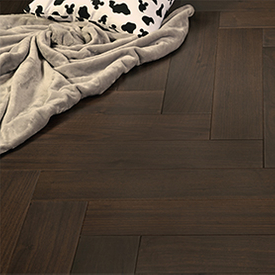
Wooden boards can be installed one by one. The advantage of this kind of laminate plank flooring is that you can customize the pattern, and the tiles are very easy to install, because they need to be aligned with each other, arranged in rows and columns. You can also use tiles of different colors to splice patterns, but it is a little difficult.
In terms of thickness, people usually choose a thickness of 6 to 12 mm. Thick hardwood fitting laminate flooring will be more durable with time, but thin materials will be cheaper, which requires you to choose according to your own situation. No matter what kind of laminate, it needs to be placed in the installation area for at least 2 to 3 days, because the material is porous and will expand or shrink according to the humidity of the environment, which requires the floor to adapt to the temperature and humidity in the room.
Wear gloves and dust mask when removing carpet, so as to prevent harmful substances from being inhaled or fingers from being cut. First, cut the carpet into strips with a blade, then disassemble the carpet, roll the disassembled carpet up, and then clean the area under the carpet with a vacuum cleaner.
Wear a mask and gloves when removing vinyl. You should find the floor without glue and cut it into strips to start peeling off. Moreover, use scraping tools to loosen the parts attached to the underlying materials, soak the glue attached to the premium vinyl flooring in soapy water to remove them, or use heating tools to soften these adhesives and then scrape them off.
If you want to remove the wooden floor, wear gloves, masks and goggles for safety. First select an area, saw the wooden board into small pieces with a chainsaw, then lift the wooden board with a crowbar, and pry it according to the direction of nails. After the wooden board is removed, collect the fallen nails, and you can also contact an experienced professional to remove the vinyl laminate flooring.
Laying over Concrete and make sure the concrete has a moisture level of 4.5% or lower. Then fill any low patches in the concrete with a best waterproof laminate flooring patch compound. Lay down the sheet of plastic which serves as a moisture barrier. Laying over tile and filling in any cracks in the tile with epoxy to create a smooth surface. Fill in the grout so it is the same height as the tile. Last, clean the tile.
Once the subfloor is ready, you can place the underlayment, vapor barrier, and sound barrier. These three items are usually stacked on top of one another to protect the subfloor and reduce noise.
Step 7: Install new flooring
When installing the luxury laminate flooring, you should start from the place near the wall, and if the fasteners are laminated plates, you should tap them gently with a hammer, so as to stabilize their position. If you need to use glue, it is best to choose polyvinyl alcohol glue. If you remove the base plate, you should re-adjust the size and nail them back to their original position, and lay some laminated plates around the door.
Reference:
HomeAdvisor, How To Install or Lay Laminate Flooring.